
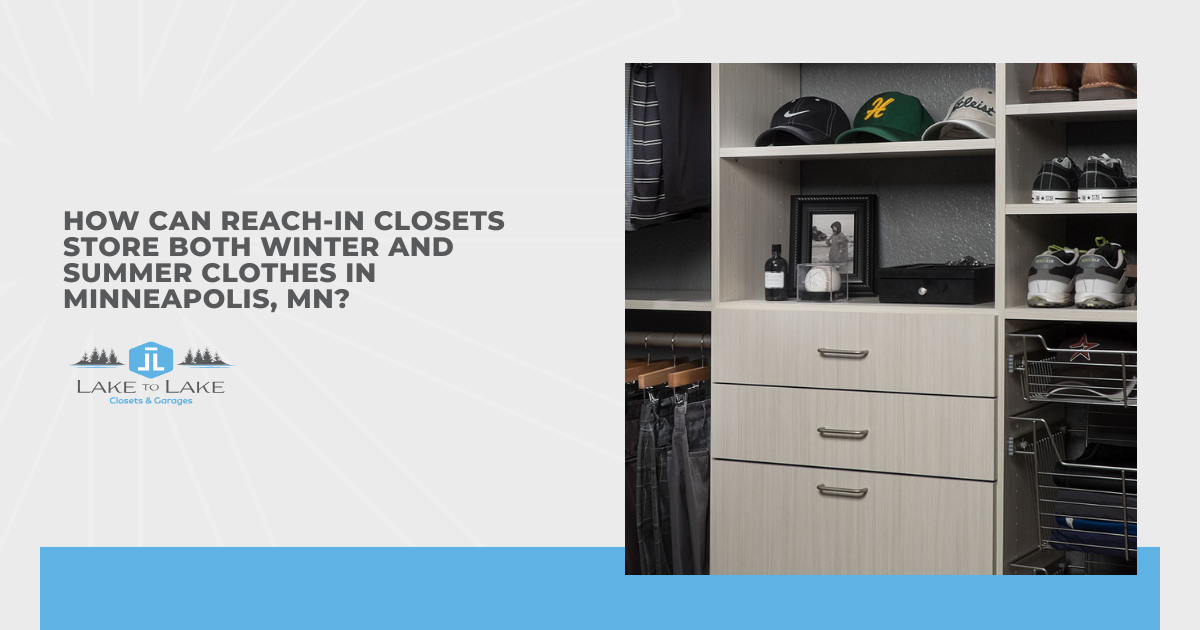
Most Minneapolis homeowners own two complete wardrobes, one built for subzero mornings and another for humid summer afternoons at the lake. I've redesigned enough reach-in closets around here to know both can fit comfortably behind one set of doors, even in older homes with shallow, narrow spaces.
Your reach-ins can store both seasons best when you build up instead of out, using adjustable shelving and double rods for current clothes while reserving the highest shelves for anything you won't wear for months. Labeled bins, vacuum-sealed bags, and a quick rotation each spring and fall keep bulky sweaters compressed and out of the way, while hooks hold everyday jackets and a shoe rack keeps boots and sandals easy to grab.
Winter layers and summer favorites don’t have to compete for the same shelf space, and these nine reach-in closet ideas can help you make room for both:
- Adjustable shelving that shifts with the seasons
- A simple seasonal rotation system
- Double hanging rods to double your space
- Upper shelves for off-season storage
- Drawer inserts and dividers for small seasonal items
- Hooks and wall space for everyday outerwear
- Vacuum-sealed bags for bulky winter gear
- Labeled bins and baskets for quick seasonal swaps
- Smart shoe storage for snow boots and sandals
I’ll show you how a few practical changes can make seasonal swaps easier while keeping both wardrobes in your reach-in closets.
Adjustable Shelving That Shifts with the Seasons
Fixed shelves lock your closet into one layout, and they rarely suit both a stack of chunky knits and a row of folded tees. Adjustable shelving lets you move each shelf up or down in minutes, so the space changes as your wardrobe does. I steer most clients toward this feature first because it costs little and pays off all year.
Winter calls for taller gaps between shelves, since sweaters, fleece pullovers, and folded snow pants stack high fast. Once June arrives, you can drop those shelves closer together and fit extra rows of shorts, tanks, and swimsuits. Shelf pins and track systems make the swap easy without tools, even for renters or first-time organizers.
Depth matters too, especially in an older Minneapolis home where a reach-in closet might measure only 22 or 24 inches deep. Shallower shelves keep folded stacks visible instead of hiding a forgotten cardigan behind the front pile. Pair them with a pull-out shelf near waist height, and you'll grab seasonal pieces without bending or stretching.
A Simple Seasonal Rotation System
Most closets get crowded because both seasons compete for the same rod and shelves. Rotation fixes that by giving your current wardrobe the easiest spots to reach while everything else moves aside. Minnesota weather loves a false spring, so I tell clients to plan their swaps around the calendar instead of one warm afternoon.
Hre's how to wrap up every seasonal swap in under a couple of hours, in three quick steps:
- Sort Before You Store: Pull out anything you didn't wear last season and set it aside for donation. You'll pack fewer boxes, free up shelf space, and avoid storing clothes that'll only sit untouched another year.
- Clean Everything First: Wash or dry-clean each piece before it goes into storage, since body oils and food spots attract moths. Stains also set over several months and become much harder to lift when fall returns.
- Pick Two Set Dates: Mark one weekend in late April and another in mid-October on your calendar. Treat them like appointments, and the swap becomes a routine instead of a scramble when the first cold snap hits.
Keep a small transition zone for in-between pieces like light jackets, rain shells, and long-sleeve tees. Those items earn their spot in April and October, when mornings start near freezing and afternoons climb past 60. Your reach-in closet stays usable through those weeks, and you won't need to reopen sealed bins every few days.
Double Hanging Rods to Double Your Space
Single rods leave a lot of empty air beneath short garments like shirts, blouses, and pants folded over hangers. Mount the upper rod near 80 inches and a lower one around 40 inches from the floor, and that wasted gap becomes a full extra row. Most standard reach-in closets can handle the upgrade without any framing work.
Your everyday shirts and pants belong on the lower rod since it sits right at hand level. Off-season tops can hang above, out of the way but still in sight when the weather flips. I like how that simple split keeps both seasons accessible without any guessing about where things went.
Long items still need a spot, so leave one section at full height for dresses, wool overcoats, and parkas. One 24-inch section usually covers the longest pieces for a couple. Keep the rest double hung, and you'll gain nearly twice the hanging capacity of a basic setup.
Upper Shelves for Off-Season Storage
Space above the hanging rod often goes unused, even though it's perfect for clothes you won't touch for months. Off-season items belong up there because you only need to reach them twice a year. Your reach-in closet gains real storage without sacrificing any spot you use daily.
Consider adding a second shelf above the first if your ceiling reaches eight feet or higher. Stacked shelves give you room for lidded boxes on one level and lighter items like beach towels or sun hats on another. Keep heavier pieces lower so lifting them down never feels risky.
Safety matters up high, so I recommend keeping a slim folding step stool tucked against the closet wall. I also prefer fabric bins with front handles over heavy plastic totes for these shelves, since they're easier to slide out overhead. Lightweight containers mean fewer dropped boxes and fewer bumps on the head during your next swap.
Drawer Inserts and Dividers for Small Seasonal Items
Small accessories cause more clutter than coats ever will. Gloves, scarves, and wool socks pile up in winter, then swimsuits, sunglasses, and baseball caps take over by summer. Without dividers, those pieces tangle together in one drawer and nobody can find a matching pair.
The right insert depends on what you're sorting, so consider these options:
- Honeycomb Organizers: Small cells hold rolled socks, tights, and underwear so each piece stays visible at a glance. They're ideal for thick wool socks in winter and lightweight ankle socks once warmer weather returns.
- Adjustable Bamboo Dividers: Tension-fit strips stretch across a drawer to create custom lanes for scarves, belts, or swimsuits. You can reposition them within a few seconds whenever your seasonal accessories change size or quantity.
- Velvet-Lined Trays: Shallow trays protect sunglasses, watches, and jewelry from scratches while keeping them easy to grab. Swap in winter items like knit headbands and leather gloves when the temperature drops below freezing.
I always measure drawer interiors before buying inserts, because a quarter inch can decide whether they slide shut. Built-in drawers in a custom reach-in closet can be sized around your accessories from day one. Either way, you'll spend less time hunting for a missing mitten on a dark January morning.
Hooks and Wall Space for Everyday Outerwear
Coats you wear daily shouldn't need a hanger at all. I've noticed people put their jackets away far more often when there's a hook within arm's reach. Hooks on the inside of the door or along a side wall give your go-to parka a quick landing spot after the commute.
Side walls in a reach-in closet often sit empty because they seem too narrow for shelves. Mount a vertical row of sturdy hooks there for hats, crossbody bags, or tomorrow's scarf. Over-the-door racks work well in rentals, though heavy winter coats can strain cheaper models.
Damp outerwear needs airflow, especially after shoveling the driveway or walking through wet snow. Hooks let a coat dry overnight instead of soaking the clothes packed beside it on the rod. Once summer arrives, those same hooks can hold rain jackets, tote bags, and a light denim layer for cool evenings by the lake.
Vacuum-Sealed Bags for Bulky Winter Gear
Fleece-lined snow pants, synthetic puffers, and spare blankets eat up more room than almost anything else you own. Vacuum-sealed bags pull the air out and shrink those items down to about a third of their usual bulk. Your summer wardrobe suddenly has room to breathe.
To avoid ruined clothes and wasted effort, follow these tips before you start sealing:
- Go Easy on Down and Wool: Long-term compression can crush down clusters and wool fibers, which reduces warmth and loft. Store those pieces loosely in breathable cotton bags, and save vacuum bags for synthetic fleece and polyester fill.
- Seal Only Bone-Dry Clothes: Trapped moisture leads to mildew and musty odors that are tough to wash out. Let freshly laundered items air dry for a full day before you seal them, even if they feel dry.
- Store Bags Flat: Lay compressed bags flat on an upper shelf or under a bed rather than folding them. Creases weaken the plastic over time, and a tiny puncture lets air creep back in.
Cheaper bags leak slowly, so check each one mid-season and reseal any that have puffed back up before they crowd the shelf. I suggest keeping a small hand pump in your reach-in closet so you can top off the seal in under a minute. A quick check twice a season is all it takes to keep everything compressed and out of the way.
Labeled Bins and Baskets for Quick Seasonal Swaps
Opaque bins keep dust off folded clothes, but they also hide what's inside. Clear labels fix that, so you're not prying open five boxes to find one pair of swim trunks. Your reach-in closet stays tidy because each container has one job.
Labeling bins by household members and categories works well, such as "Emma, winter accessories" or "Dad, summer shorts." Front-facing tags work better than lid labels since most bins sit stacked on shelves. I find chalkboard or dry-erase labels especially handy because they let you update contents as kids outgrow sizes.
Woven baskets add warmth to open shelving and work nicely for items you grab often, like beach towels or knit hats. Lidded plastic bins suit longer storage because they block moisture and pests better. Uniform sizes across the closet stack neatly and give the space a calmer look.
Smart Shoe Storage for Snow Boots and Sandals
Footwear piles up fast in Minnesota, where one household can own snow boots, rain boots, sneakers, and sandals all at once. I think shoes deserve their own zone in any reach-in closet, since they're often the first things to spill across the floor. Give each season a defined home, and you'll stop tripping over boots in July.
Choose from these options based on your floor space and footwear collection:
- Boot Trays: Rubber trays catch melting snow and road salt before they stain your closet floor. Place one at the base during winter, then slide it out of sight once boots go into storage.
- Tilted Shoe Shelves: Angled shelves display sandals, flats, and sneakers so you can spot the right shoes instantly. Built-in front lips stop shoes from sliding off while keeping each pair in clear view.
- Boot Shapers and Tall Cubbies: Tall winter boots slump and crease when they're left lying on their sides. Slip in boot shapers or store them upright in tall cubbies, and they'll keep their shape for many more seasons.
Clean off salt residue before storing winter boots, since it dries out leather and leaves white stains. Off-season pairs can then move into breathable boxes so dust doesn't settle on them. Your floor stays clear, and each pair is ready the moment the season turns.
Conclusion
None of this requires a full renovation or a bigger budget than you already have. What it really takes is a bit of thought about how your belongings shift through the year and a setup that moves with them. Minnesota puts every closet to the test, and the ones that hold up aren't always the largest; they're the ones built around how people actually live. Put that thinking behind your own space, and each new season will feel far less like a disruption
